
Taking the perfect food photo is a brilliant way to entice an audience with an iPhone, whether you’re selling a product, trying to pick up extra views on social media, or simply looking to share some food highlights with close friends and family. And let’s be honest here, who doesn’t like to look at food?
But, while the food you’ve made or ordered can look like an indulgent treat in person, thanks to awkward lighting, unfortunate surroundings, or even excess steam, the once-gooey pizza pics you had in mind can turn into greasy cheesy nightmares you may want to hide in your photo stream rather than post online.
Plus, finding what works for you in a sea of influencers, editing apps, staging tips, and sets can get overwhelming. In this guide, we’ll uncover the untapped potential that can be found in your iPhone’s camera, as well as run through some essential tips and tricks you can utilize when selling your menus and taking great food photography.
Set the table and the scene

Staging a scene can often make the most difference when taking food photography, and if utilized properly, it can even become a signature to your brand, channel, or style. A brilliant starting point when seeking out this element of the food photography process is first to browse online and mark the photos you find compelling or enticing. Because style is so subjective, it will be about finding the framing and lighting that appeals to you and what you want to emulate in your work and building your own visual identity from there.
A quick glance on Instagram will show a wide array of techniques to dabble in. From panning video content that uses heavy flash lighting to meticulously staged cookbook portrait photos, cycling through and finding what appeals can help you hone in on the style you want to go for. For businesses and blogs, having a consistent grid on your Instagram or TikTok is something that appeals to users and can give you ar professional ambiance, creating a clear message for your brand. So it’s key that you find a general style to start with, but never be afraid to experiment and freshen things up.
Once you have a great idea of what you’d like to create, it’s always recommended to take a dive into your settings first to make sure you are shooting in the best quality before jumping in. While some third-party apps offer their own camera options, I’d always recommend using the Camera app itself to capture the media and then upload them for the best quality images.
To access your Camera settings, open the Settings app and select Camera. Within this submenu, you’ll see all manner of settings to toggle with, each offering a benefit to your photo-taking escapades. Firstly, tap Record Video. When shooting for Instagram or TikTok, there are quality limitations that can mean 4K resolution capture is unnecessary, so choosing the lower quality option saves room on your precious internal storage. In this menu, you’ll see a list of resolutions to choose from. Shooting in 1080p at 60 frames per second is a smart choice, as this is a good standard to maintain across the board.
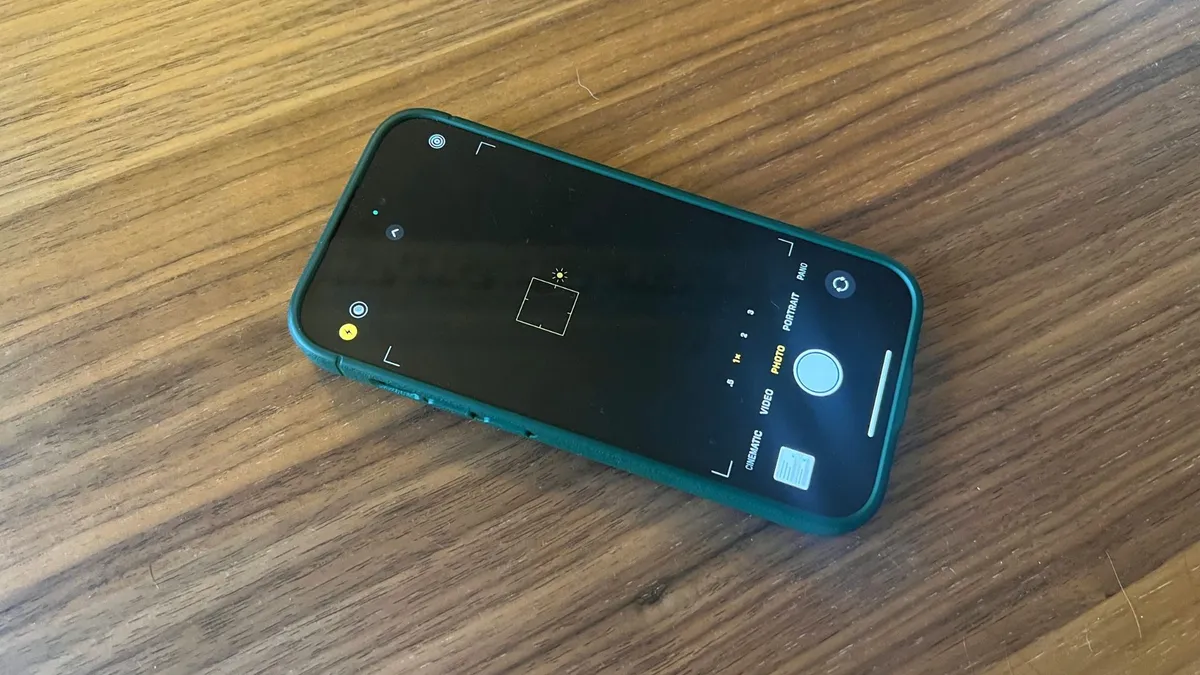
For the food photography itself, the iPhone's base settings are worth digging into. One helpful tool you can toggle on to assist with consistency in your shots is the Grid, a cross-hatch overlay that can help you when you’re framing your shots. You can find this option within the Camera settings menu and tap to turn it on. When shooting, the grid will clearly outline a central box to frame the food more easily. You want to have your subject front and center, but once again, don’t be afraid to get creative with grid placement.
The Grid can be a great tool to use in tandem with the iPhone’s manual focus system, which will anchor the perspective of the camera to the item of your choice in the scene. To assert control over your camera's autofocus, all you need to do is tap the screen where you want the camera to focus when taking a photo or a video.
Hungry friends and hot food
Once you’ve got to grips with a style and figured out your settings, there are some remediable food-based issues to contend with that can cause trouble for your photographic endeavors.
Coping with steam is a classic foodie photo-taking complaint and one that is mostly unavoidable, especially with piping hot food. The best and easiest way to deal with steam is to make the most of it and find a way to include it in your shot. Not only can this make the food look inviting, but the image can be edited to look even more moody after the fact. By stepping away and angling the camera vertically, you can capture the dish with steam whilst giving your iPhone’s camera the space not to fog up.
Another important consideration is the lens focus, though, as the moving steam may draw its attention. To mitigate this, tap the food on the preview and let the camera correct its focal point. You’ll likely need to do this a few times to achieve a clear image. Make use of dark backgrounds to amplify the contrast where possible too.

Lighting and Flash
Another common grievance in food photography is dimly-lit restaurants and environments with difficult lighting. In this case, there are two paths you can take; the first is to commit to your flash. This stylistic choice can deliver some glossy photos that show off the sheen of a dish, which is useful if that’s the sort of up-close style you’re going for.
If you’re looking for a more soft, subtle shot, then Apple’s Night Mode feature can do the trick. Night Mode will turn on automatically when your iPhone camera is in low light and is signified by a yellow half-moon icon at the top right of the Camera app interface, right next to the flash.
To use this feature, make sure you tap the display to set a clear focal point and hold the phone still as it takes the photo. The result will be an image with soft lighting that can show off the finer notes of your food. This is especially helpful when you want to avoid that oily or greasy that can be exacerbated by flash photography.
Where you can, natural light will always be king, of course. In my own photography, soft cloudy sunlight, like that found on a kitchen bench, tends to provide the cleanest image. Setting a plate just out of direct sunlight can achieve that perfect brunch shot that will highlight the lighter tones without making them overexposed.
Cook, capture, repeat

Now that you’ve read our tips on how to contend with steam, low light, and staging, it’s time to head out into the world and take some stylish photos of your food.
Remember to experiment with the settings and find your style, then reflect that on your social media grids to give users an aesthetic vision they’ll want to keep coming back to.


